How to Read a Birth Chart Wheel, Step by Step
The first time you look at a birth chart it is a dense circle of tiny symbols and crossing lines. The good news is that it has a logic, and you can read the important parts in a particular order. Here is a method that works for any chart, including the one you can draw for yourself in the Birth Chart Studio.
Step 1: Understand the layout
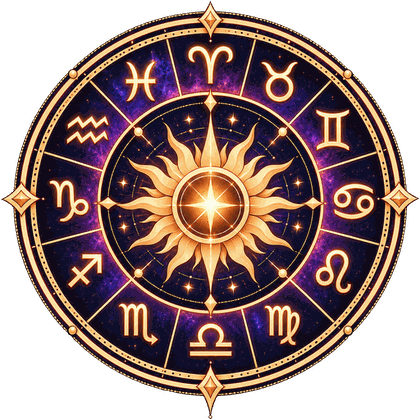
The outer ring holds the twelve zodiac signs, each with a glyph. The inner ring is divided into the twelve houses, numbered counterclockwise. The planets sit between, each at the degree where it stood when you were born. In most charts, the horizon runs left to right through the middle: the ascendant on the left and the descendant on the right. Everything above the horizon was above the ground at your birth, and everything below was not.
Step 2: Find the angles
Start with the four cardinal points. The ascendant (ASC) on the left is the rising sign, and the midheaven (MC) at or near the top is the highest point of the chart. Opposite them are the descendant and the imum coeli. These are the framework everything else hangs on, and the ascendant in particular sets the orientation of the whole wheel.
Step 3: Read the big three
Note the signs of your Sun, your Moon and your ascendant. Write one sentence for each:
- Sun in [sign]: what I am growing toward.
- Moon in [sign]: what I need to feel safe.
- Rising [sign]: how I come across at first.
Then notice where they agree and disagree. See our guide to the big three for how to think about that.
Step 4: Place the other planets
For each of the remaining planets, write “planet, sign, house.” For Mercury in Virgo in the sixth house: “I think in detail and notice what could be improved, and this shows up especially in my daily work.” Use the planet pages for what each one does. A planet marked ℞ is retrograde, which astrologers read as working more inwardly.
Step 5: Look at the houses
Count how many planets sit in each house. A house with three or four planets in it is a major focus of the chart. Empty houses are normal and are read through the sign on their edge. The houses guide explains the twelve areas and how they are drawn.
Step 6: Count elements and modalities
Tally the signs of the Sun, Moon, rising sign, Mercury, Venus and Mars by element and by modality. You are looking for what dominates and what is thin. This single step often explains more of a personality than anything else. There is a guide to the element count and one to the modalities.
Step 7: Notice the lines between planets
The lines that cross the middle of a chart are aspects: angular relationships between planets. A conjunction (planets close together), an opposition (across the wheel), a square (90 degrees) and a trine (120 degrees) are the main ones. Conjunctions and trines are read as blending and flow; squares and oppositions as tension and effort. The Birth Chart Studio does not draw aspects, so as a beginner you can set them aside until the placements themselves feel familiar.
Step 8: Put it into a paragraph
Finish by writing a short paragraph in your own words that combines the big three, the strongest element and the most populated house. For example: “I am quick and curious on the surface, and more sensitive underneath than I show. A lot of my energy goes into work and routine, and I handle it best with a clear plan.” That is a real reading, and a far more useful one than memorizing a hundred keywords.
Common beginner mistakes
- Reading every placement as a separate fact. Combine them.
- Ignoring the houses. They are the “where” of the chart.
- Treating a description as a fate. A chart describes tendencies and leaves the choices to you.
- Getting discouraged by jargon. Learn one planet or house a day.
If you would like a structured plan, read A Four-Week Plan to Read Your Own Chart.